
Printer setup Install
Method 1 — Wi-Fi (Connect via your router)
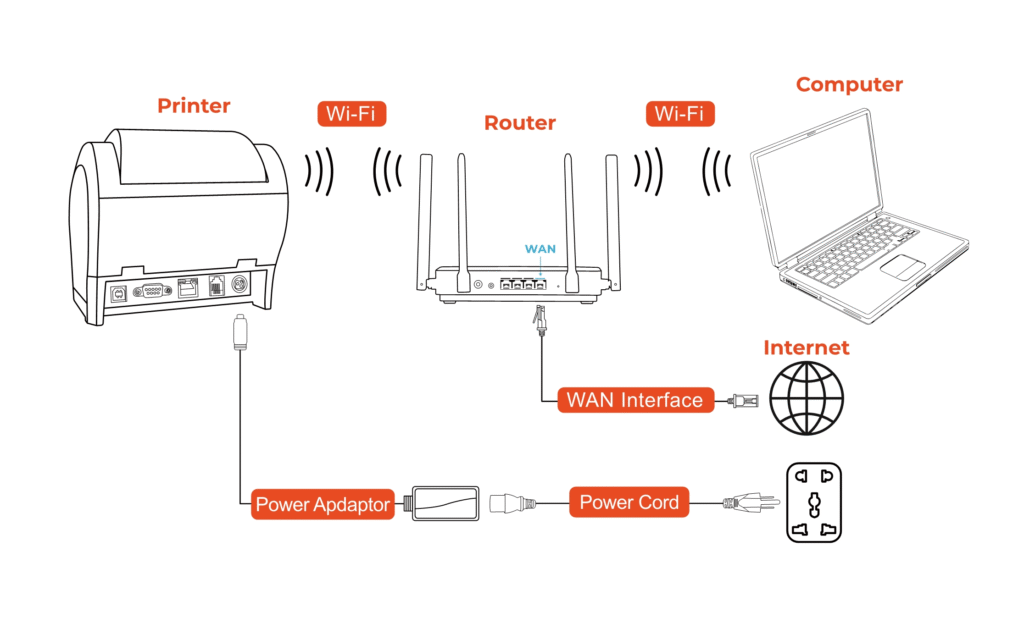
On the printer, open the control panel and choose Wireless Setup or Network Setup.
Select your Wi-Fi network (SSID). Enter the Wi-Fi password carefully — it’s case sensitive.
Wait until the printer indicates it’s connected (solid Wi-Fi light or “Connected” on screen).
On Windows: Settings → Bluetooth & devices → Printers & scanners → Add device → choose the printer. If it doesn’t appear, use Add manually → Add a printer using TCP/IP and enter the printer’s IP (findable on the router or printer network report).
On macOS: System Settings → Printers & Scanners → Add Printer → select the printer and click Add. If needed, use IP/IPP and enter the printer IP.
Print a test page to confirm.
Tips: If setup fails, try connecting both printer and computer to the 2.4 GHz network (many printers prefer 2.4 GHz). Make sure both devices are on the same network (not a guest network).
Method 2 — WPS (Router Push Button or PIN)
Push button WPS:
Put the printer in WPS mode from its network setup menu.
Within 2 minutes, press the WPS button on your router.
Wait for the printer to show a successful connection.
WPS PIN method:
Generate a WPS PIN on the printer (an 8-digit code).
Enter that PIN on your router’s WPS page to authorize the printer.
Complete connection and add the printer on your computer if it doesn’t auto-appear.
Note: If your router has WPS disabled, use standard Wi-Fi setup.
Method 3 — Wi-Fi Direct (No router / Direct connect)
Enable Wi-Fi Direct on the printer. The printer will show a temporary network name and password on its screen or print an info sheet.
On your phone or computer, go to Wi-Fi settings and join the printer’s temporary network using that password.
Use the system print dialog (or add the printer on the computer) and print.
When finished, reconnect your device to your normal Wi-Fi.
Use case: Useful when there is no router or internet available.
Method 4 — USB Cable (Plug-and-Play)
Windows:
Turn on the printer and connect it to the computer with a USB cable.
Windows usually detects and installs the printer automatically. If not: Settings → Bluetooth & devices → Printers & scanners → Add device.
Select the USB printer and finish setup. Print a test page.
macOS:
Connect the USB cable and power on the printer.
System Settings → Printers & Scanners → Add Printer → select the USB printer → Add.
Test print.
Tip: After USB setup you can switch the printer to Wi-Fi later and re-add it as a network printer.

Method 5 — Ethernet (Wired network)
Connect an Ethernet cable from the printer’s network port to a LAN port on your router or network switch.
Wait ~30–60 seconds for the printer to get an IP address from DHCP.
On your computer, add the printer by selecting it from the network list or by entering its IP address (prefer IPP if available).
For stability, consider reserving the printer’s IP address in your router so it doesn’t change.

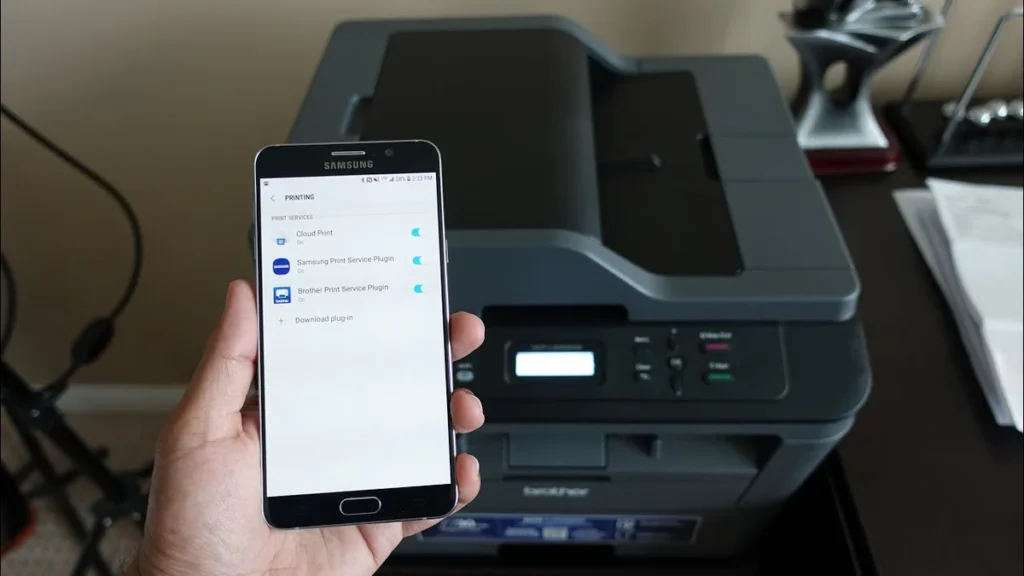
Mobile Printing (Android & iOS)
Android:
Ensure phone and printer are on the same Wi-Fi network, or connect via Wi-Fi Direct.
Open the photo or document → Share → Print (or use the three-dot menu → Print).
Select the printer, choose options, and print.
iOS/iPadOS:
Make sure your iPhone/iPad and printer are on the same Wi-Fi (or use Wi-Fi Direct).
Open file/photo → Share → Print.
Select the printer and print.
Scanning from phone: If the printer has a scanner, either use the printer’s mobile app (if available) or use a phone scanning app that supports network scanners. You can also scan from your computer after adding the printer.
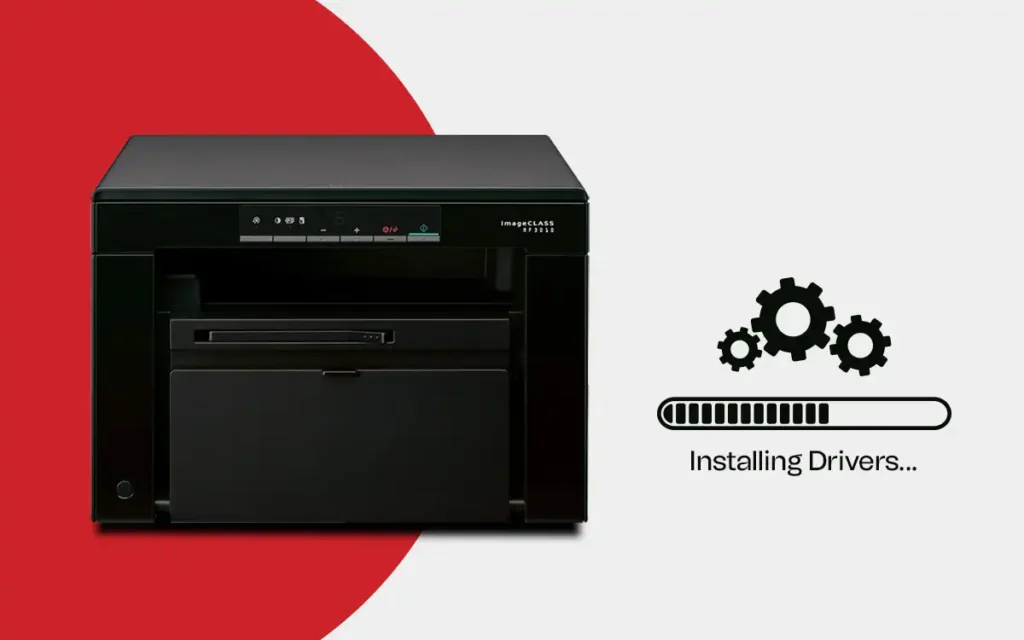
Drivers, Firmware & Utilities
Many modern OSes install basic drivers automatically when you add the printer.
If you need advanced features (scanning tools, fax, special utilities), download the full driver package from the printer’s official support page for your exact model. Avoid third-party driver sites.
Check the printer’s control panel for Firmware or Software Update options and keep firmware current for best performance.